


Your wet and dry vacuum is one of the most versatile cleaning equipment in your arsenal, capable of handling everything from the workshop to the basement floods. But like any hardworking piece of tool, it requires regular care to perform in its best form.
Many people behave their wakes like indestructible workers, run them until they break completely. The reality is that some simple maintenance habits can dramatically increase the lifetime of your vacuum, while suction keeps power strong and prevent expensive repair.
The good news is that maintaining wet and dry vacuum is not complicated or time taking time. Most tasks take place in a few minutes of each use, which only requires deep maintenance.
These direct steps will help you avoid the frustration of a closed, weak, or broken vacuum when you need the most.
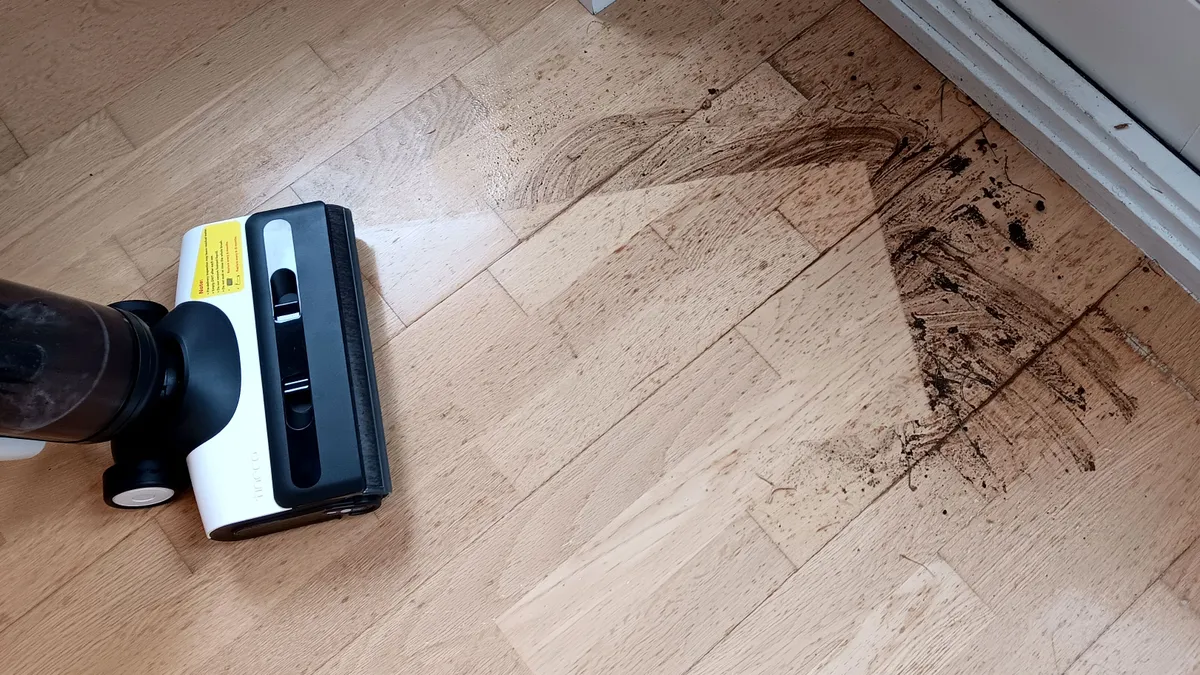
1. Start with manual (seriously)

(Image: © Future)
The manual of your vacuum includes model-specific maintenance schedules and procedures that cannot cover general advice. Different brands handle the filters separately, and some models have unique features or requirements.
Spend ten minutes in reading through maintenance sectionSo you focus on what your specific wet and dried vacuum is needed. Keep the manual accessible somewhere Since you may need to refer to the replacement part number and troubleshooting tips in your vacuum life.
2. Keep the filter clean and dry
(Image: © Future)
Filter maintenance varies dramatically between wet and dried use, so behave differently. For dried debris, Remove the filter and tap it firmly to shake loose dirt – You will be surprised how much it comes.
Washable filters can be Rinsed under flowing water, But they should dry completely before restoring them To prevent mold development. When dealing with wet dirt, Remove the filter completely because most are not designed to get wet.
A wet filter becomes a breeding ground for bacteria and can damage your motor.
3. Empty and clean the tank after every use

(Image: © Future)
Although it may look excessive on the surface, this habit prevents the greatest problems that plague wet and dry vacancies. Empty the tank immediately after each job, even if it is not completeAs Stuck moisture causes smell and rust over time.
For wet cleaning, rinse the tank thoroughly with clean water and dry it completely before storage. After dry vacuuming, wipe the interior with a damp cloth to remove fine dust that can build and reduce the capacity.
4. Observe the attachment and regularly join

(Image: © Future)
The blocked enclosure kills suction power faster than something else. Check hoses for clogs By holding them up to light, you should look clearly.
Clean duct and brush with hot soap waterPay attention to bristles where hair and debris loves to love. Make sure all the connections are snuggly fit Since loose attachments make their vacuum more difficult than necessary.
5. Do not ignore the power cord

(Image: © Tom Guide)
A damaged cord is not just uncomfortable, it is dangerous. INSPECT FRAYING, CUTS, or Full Length for Effosed wiresEspecially near the plug and where it enters the vacuum.
Change damaged cords immediately Instead of trying to tape them. Proper storage also matters: coil the cord relaxed and avoid sharp turns that can damage internal wires over time.
6. Create a simple maintenance routine

(Image: © Dream)
When it comes to this vacuum maintenance, compatibility defeats perfection. After each use, Empty the tank and check the filter,
Weekly, Observe attachments and hoses for obstructionsMonthly, Give everything completely clean and check the power cordThis routine takes minutes but prevents major issues that lead to expensive repair or replacement.
7. Store it properly

(Image: © Tom Guide)
The storage space of your vacuum affects its lifetime as you can think. Choose a clean, dry area away from temperature extreme and direct sunlightAvoid moist basement or warm garage when possible.
And store the attachment in an organized way: A simple bin or hanging system prevents lost pieces and damage from being loose.
Why does my vacuum stop?
Repeated clogs usually indicate that you are pushing your zero beyond its limits. Raising large debris, overfilling the tank, or using a dirty filter forces your vacuum to work hard and reduce airflow.
Most clogs are in the hose or at the connection points where the debris gets stuck. Regular filters prevent most clogs issues before cleaning and emptying the appropriate tank.
How to expand the lifetime of your vacuum
Simple habits make the biggest difference in vacuum longevity. Never run your vacuum without a filter while doing dry cleanup as the fine dust will damage the motor. Allow the wet components to dry completely before storage to prevent rust and mold.
Change the filter when they are worn instead of trying to spread their lives far away. A filter replacement is much cheaper than the repair of the motor.
Now you have learned seven easy steps to keep your wet and dried vacuums running like new, why not make a look at our other useful home maintenance guides?
How to look at your floors properly – 5 tips for immaculate results and ways to get rid of mice in your garage – and keep them out for good.
And, if you have an air fryer, don’t miss this genius hack: Remove the air fryer in a easy way – you just need a dishwasher tablet.